
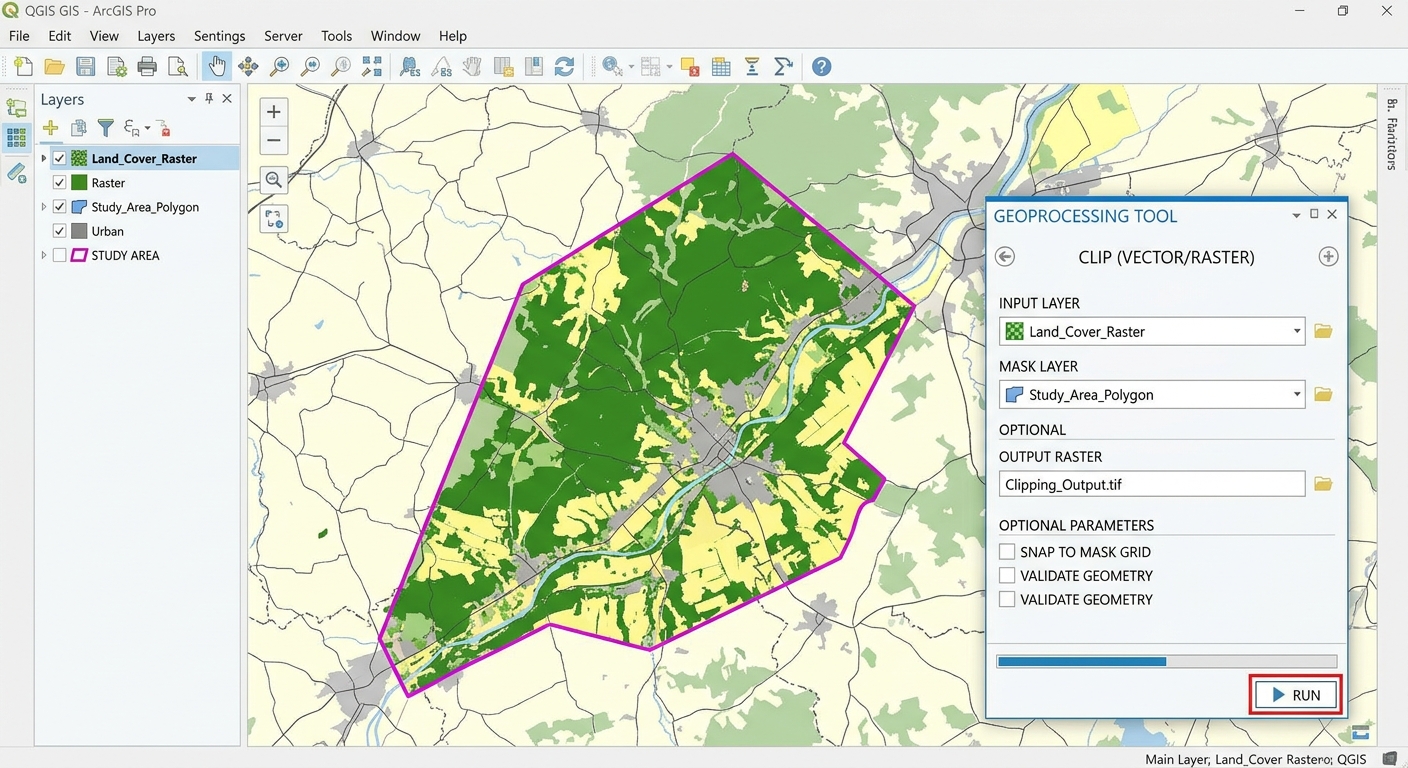
Clip Raster and Vector GIS Layers: 5 Easy Steps
When starting a GIS lab assignment, knowing how to clip raster and vector GIS layers down to your specific study boundary is a fundamental skill. However, working with a state-wide road vector file or a national Digital Elevation Model (DEM) can severely slow down processing speeds. To keep your project efficient, knowing how to clip raster and vector GIS layers down to your specific study boundary is a fundamental skill every student needs.
Trimming datasets isolates your study area, speeds up tool execution, and ensures map layouts look clean and professional. Whether you are using open-source QGIS or industry-standard ArcGIS Pro, this step-by-step tutorial walks you through clipping vector shapefiles and masking raster surfaces accurately.
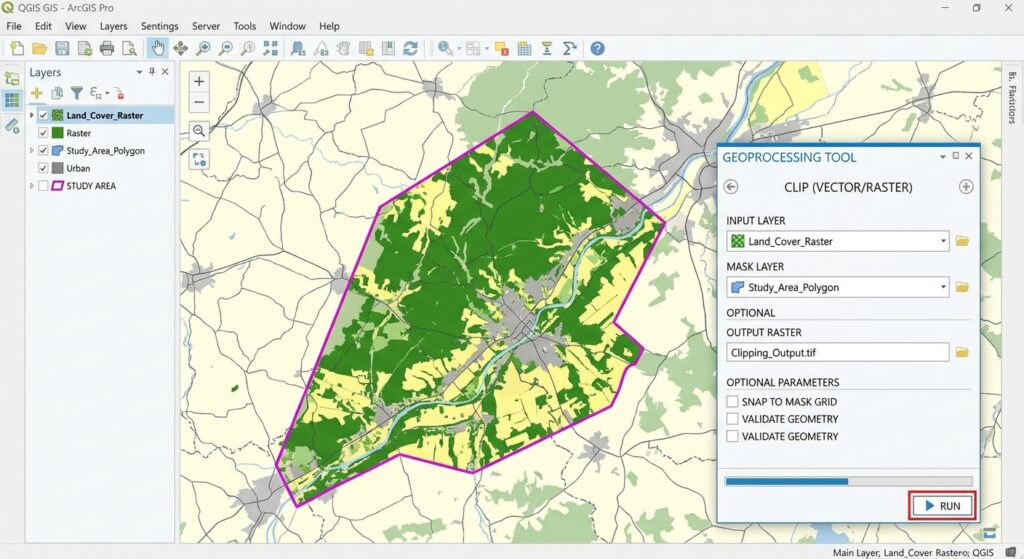
1. Fundamentals: How to Clip Raster and Vector GIS Layers
Before diving into tool menus, it is important to understand how desktop software treats different data models during clipping.
+-------------------------------------------------------------------------+
|                          INPUT DATASETS                                 |
|         Vector Layer (Points/Lines)  OR  Raster Dataset (Pixels)         |
+------------------------------------+------------------------------------+
                                     |
             +-----------------------+-----------------------+
             |                                               |
             v                                               v
   +-------------------+                           +-------------------+
   |   VECTOR CLIP     |                           |   RASTER MASK     |
   | Cookie-Cutter     |                           | Pixel Value       |
   | Feature Trimming  |                           | Extraction        |
   +---------+---------+                           +---------+---------+
             |                                               |
             v                                               v
  Trimmed Features & Geometries                 Retained Cells Inside Polygon
  Attributes Kept Intact                        Outside Pixels Set to NoData
-
Vector Clipping: Acts like a “cookie cutter.” The boundary feature layer trims point, line, or polygon geometries from the input layer. Only features that fall inside the clip boundary are preserved, along with their attribute table records.
-
Raster Clipping/Masking: Extracts pixel cells within a specified area. Because rasters are grids of square cells, clipping to a curved boundary sets all pixels outside the polygon boundary to NoData while keeping internal cell values intact.
2. Part 1: Step-by-Step Guide to Clip Vector GIS Layers
Trimming vector data—such as road networks, streams, or census tracts—is one of the most frequent geoprocessing steps in spatial analysis. When preparing your lab assignments, knowing how to clip raster and vector GIS layers efficiently ensures your vector geoprocessing tools run without lagging.
Clipping Vector Layers in QGIS
-
Open QGIS and load your input vector layer and clipping boundary polygon into the Layers Panel.
-
Navigate to the top menu and select Vector > Geoprocessing Tools > Clip.
-
Set the Input layer to the dataset you want to trim (e.g., statewide roads).
-
Set the Overlay layer to your study area boundary polygon.
-
Click Run. QGIS creates a temporary output layer containing only features inside your boundary. Right-click and choose Export > Save Features As… to make it permanent.
Clipping Vector Layers in ArcGIS Pro
-
Open ArcGIS Pro and load your vector datasets into the Contents Pane.
-
Go to the Analysis tab and click Tools to open the Geoprocessing Pane.
-
Search for the Clip tool (Analysis Tools > Extract > Clip).
-
Select your dataset for Input Features.
-
Select your boundary polygon for Clip Features.
-
Set your destination path in Output Feature Class and click Run.
3. Part 2: Step-by-Step Guide to Clip Raster GIS Layers
When working with satellite imagery or continuous surfaces, clipping isolates the pixels required for analysis. Whether working with elevation grids or satellite imagery, the procedure to clip raster and vector GIS layers follows a similar mask-extraction logic across both platforms.
Clipping Raster Layers in QGIS
-
Load your raster surface (e.g., DEM, land cover) and study area polygon.
-
Go to Raster > Extraction > Clip Raster by Mask Layer.
-
Set Input layer to your raster dataset.
-
Set Mask layer to your boundary polygon.
-
Check Match the extent of the clipped raster to the extent of the mask layer to keep file sizes small.
-
Set the Assign a specified NoData value to
NaNor-9999to ensure background areas render transparently. -
Click Run.
Clipping Raster Layers in ArcGIS Pro
-
In the Geoprocessing Pane, search for Extract by Mask (Spatial Analyst Tools > Extraction > Extract by Mask).
-
Set Input raster to your elevation or imagery file.
-
Set Input raster or feature mask data to your polygon boundary.
-
Click Run.
For further details on geoprocessing parameters and environment settings, consult the official Esri Geoprocessing Toolset Documentation.
Pro Tip: Bounding Box vs. Mask Polygon Clipping
Standard clipping tools offer two distinct extraction approaches:
[Internal Link Context: Suggest linking to related article on Map Projections and CRS].
4. Frequently Asked Questions (FAQ)
What is the difference between Clip and Intersect for vector data?
When setting up your workflow to clip raster and vector GIS layers, keep common projection and boundary requirements in mind .Clip acts like a spatial mask, cutting input features to the boundary shape while preserving the input layer’s original attribute schema. Intersect trims geometries to the shared spatial extent and combines attribute columns from both input layers into the final attribute table.
Why is my clipped raster displaying black outer margins (NoData background)?
Black margins occur when the software assigns a standard numeric value (like
0) to cells outside the polygon mask. In layer properties, change the symbology setting to render NoData or 0 as transparent.How do I clip multiple layers at once using batch processing?
In QGIS, right-click any tool in the Processing Toolbox and select Execute as Batch Process. In ArcGIS Pro, right-click the tool in the Geoprocessing Pane and select Batch to run the tool across multiple layers simultaneously.
5. Conclusion & Lab Summary
Trimming vector layers and raster surfaces is an essential preparatory step for spatial analysis projects. Clipping down to your exact study area reduces file sizes, shortens processing times, and keeps your final map layouts focused and professional. Mastering how to clip raster and vector GIS layers ensures your lab deliverables are precise, clean, and optimized.
Key Takeaways:
-
Use Clip for vector data to cut geometries while retaining original attributes.
-
Use Clip Raster by Mask Layer (QGIS) or Extract by Mask (ArcGIS Pro) for raster surfaces.
-
Confirm that all input and boundary layers share the same Spatial Reference System before running tools.