
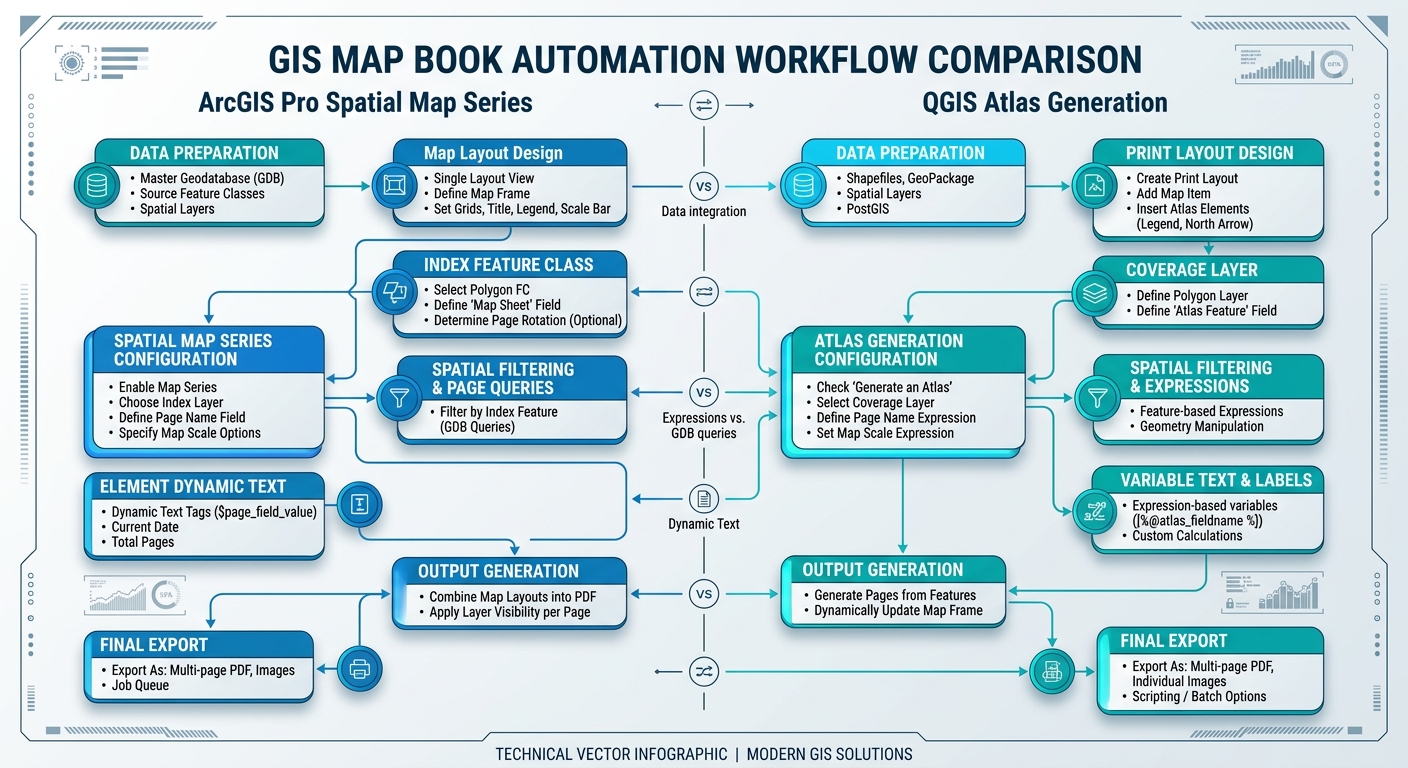
Automating PDF Map Books and Atlases in ArcGIS Pro and QGIS
Introduction to Automating PDF Map Books and Atlases in ArcGIS Pro and QGIS
Workflow 1: ArcGIS Pro Map Series (Spatial and Page Series)
+-----------------------------------------------------------------------+
|                        ArcGIS Pro Workflow                            |
|                                                                       |
|  [ Index Vector Layer ] ---> [ Map Series Setup ] ---> [ Dynamic ]    |
|   (Grid / Districts)          (Map Extent / Field)      (Text / Scale)|
|                                                                       |
|                                     |                                 |
|                                     v                                 |
|                         [ Batch Export to Single PDF ]                 |
+-----------------------------------------------------------------------+
Step 1: Prepare the Index / Coverage Layer
-
Load your spatial data into an ArcGIS Pro project alongside an Index Layer (e.g., an administrative boundary grid, fishnet, or buffer panels along a corridor).
-
Ensure the index attribute table contains key identifying fields:
-
PageName(Text field for district name or panel identifier) -
PageNum(Integer or Text field for page sequencing) -
Rotation(Numeric field, optional, for angled corridor views)
-
Step 2: Create Layout and Configure Map Frame
-
Go to Insert > New Layout and select your desired page size (e.g., ANSI D or ISO A3).
-
Click Insert > Map Frame and select your main map scene.
-
Size and position the map frame to leave designated margins for legend, title block, overview map, and page margin graphics.
Step 3: Enable and Configure Spatial Map Series
-
Right-click the Layout node in the Contents pane and select Properties, or click Map Series under the Layout tab.
-
Select Spatial map series.
-
Configure the following properties:
-
Map Frame: Select your primary map frame.
-
Layer: Select your Index/Grid layer.
-
Name Field: Choose
PageName. -
Sort Field: Choose
PageNum(Ascending). -
Map Extent: Set to Best Fit Price or Centroid with an appropriate margin percentage (e.g., 10%).
-
Step 4: Add Dynamic Text and Layout Elements
-
Insert dynamic elements by going to Insert > Dynamic Text.
-
Select Map Series properties:
-
Page Name:
<dyn type="page" property="name"/> -
Page Number:
Page <dyn type="page" property="number"/> of <dyn type="page" property="count"/> -
Attribute Field:
<dyn type="page" property="attribute" field="County_Name"/>
-
-
Add dynamic scale bars and north arrows linked directly to the main map frame.
Step 5: Batch Export Map Series to PDF
-
Go to Share > Export Layout.
-
Set File Type to PDF.
-
Under Map Series Options:
-
Choose Export: All (or specify a page range, e.g.,
1-5, 12). -
Select File Options: Export as a single PDF file.
-
-
Click Export.
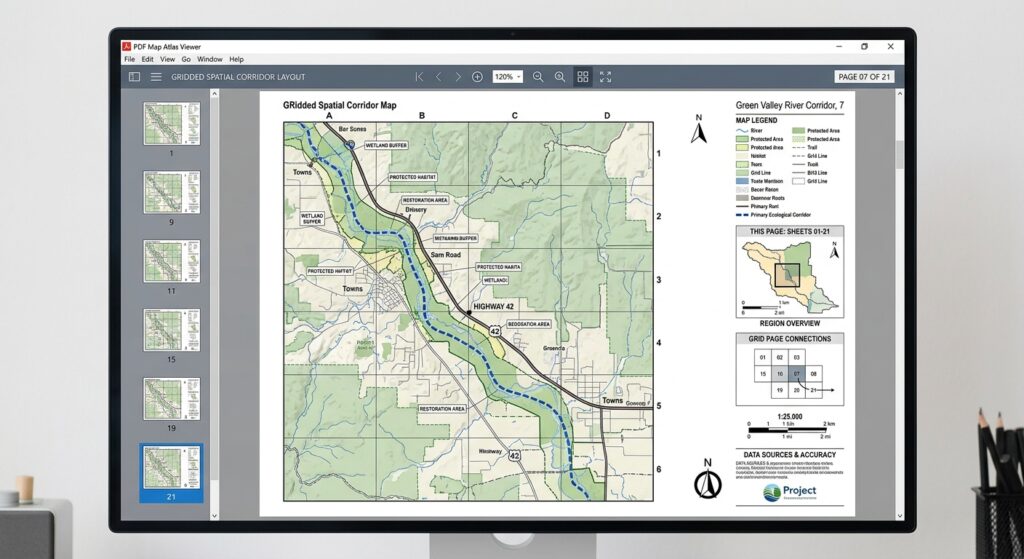
Workflow 2: QGIS Atlas Generation
+-----------------------------------------------------------------------+
|                          QGIS Atlas Workflow                          |
|                                                                       |
|  [ Coverage Layer ] ---> [ Atlas Settings Panel ] ---> [ Expressions ]|
|   (Polygons / Line)       (Page Name / Sort)        (@atlas_pagename) |
|                                                                       |
|                                     |                                 |
|                                     v                                 |
|                       [ Export Atlas to PDF / Batch ]                 |
+-----------------------------------------------------------------------+
Step 1: Set Up Coverage Layer
-
Load your spatial datasets and a polygon/line Coverage Layer into your QGIS workspace.
-
Ensure attribute columns are populated for naming and sorting (e.g.,
sheet_name,sheet_id).
Step 2: Build Print Layout
-
Open Project > New Print Layout, assign a title, and set up your page dimensions.
-
Add a Map item using Add Map (
C). -
Frame the map to fit your cartographic layout margins.
Step 3: Enable Atlas Control
-
In the Print Layout workspace, open the Atlas tab on the right panel.
-
Check Generate an atlas.
-
Set configuration fields:
-
Coverage layer: Select your Index polygon layer.
-
Page name: Select
sheet_nameor use an expression likeconcat('Sheet ', "sheet_id"). -
Sort by: Select
sheet_id(Ascending). -
Check Filter with if you want to exclude specific feature indices.
-
Step 4: Link Map Item to Atlas and Insert Substitution Variables
-
Select the map item, go to the Item Properties tab.
-
Check Controlled by atlas.
-
Choose extent control mode:
-
Margin around feature: e.g.,
10%padding. -
Fixed scale: Locks the scale across all sheets.
-
-
Add dynamic labels using Add Label and QGIS expression string formatting:
-
Page Title:
[% @atlas_pagename %] -
Dynamic Page Numbering:
[% 'Page ' || @atlas_featurenumber || ' of ' || @atlas_totalfeatures %] -
Dynamic Attribute Extraction:
[% attribute(@atlas_feature, 'District_Name') %]
-
Step 5: Batch Export Atlas to PDF
-
Click Atlas in the top toolbar > Preview Atlas to inspect rendered panels.
-
Click Atlas > Export Atlas as PDF…
-
Select output file destination.
-
In the PDF export options dialog, check Export as a single document if possible.
-
Click Save.
Side-by-Side Workflow Comparison
| Feature / Step | ArcGIS Pro Map Series | QGIS Atlas |
| Primary Engine | Spatial Map Series | Atlas Generation |
| Index Data Source | Index Layer (Polygon/Polyline) | Coverage Layer (Polygon/Line/Point) |
| Variable Naming | <dyn type="page" property="name"/> |
[% @atlas_pagename %] |
| Total Page Count Variable | <dyn type="page" property="count"/> |
[% @atlas_totalfeatures %] |
| Rotation Field Support | Direct Field Assignment in Map Frame | Data-Defined Override via rotation expression |
| Single/Multi-file Output | Configurable via Share/Export pane | Configurable in PDF Export Dialog |
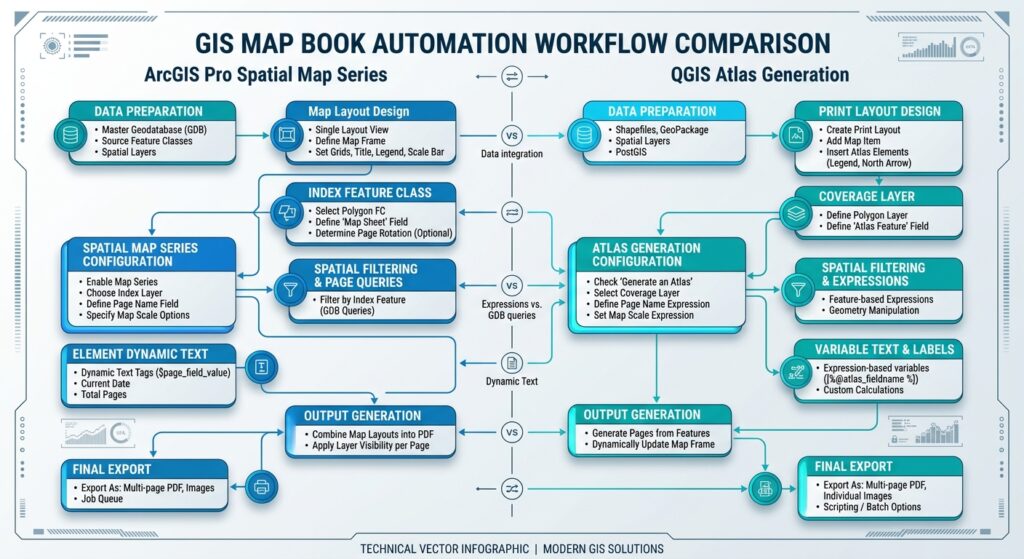
Advanced Tips
1. Dynamic Map Rotation Per Page
-
ArcGIS Pro: Calculate an angle field in your index layer (e.g.,
Angle). In Map Frame Properties, go to Display Options > Rotation and link it to theAnglefield of the Map Series layer. -
QGIS: Calculate line/grid orientation into an attribute (e.g.,
bearing). Under Map Item Properties > Main Properties > Map rotation, click the Data defined override icon and select fieldbearingor apply the expressionmain_angle(@atlas_feature).
2. Multi-Page Table Integration
-
ArcGIS Pro: Insert a Table Frame linked to the map frame’s dynamic features. Set query filtering to Map Series Feature so only assets visible within the current sheet index appear.
-
QGIS: Insert an Attribute Table item. Under Attributes, check Show only features intersecting atlas feature. Adjust framing and automatic split options across pages if necessary.
3. Export Compression and File Size Optimization
-
DPI Setting: Set output resolution to 300 DPI for high-quality print, or 150–200 DPI for digital review distribution.
-
Vector Graphics vs. Rasterization: Keep vector layers as vector objects where possible. Enable rasterization selectively for heavy hillshades or imagery base maps to avoid excessive vector node exports.
-
PDF Compression:
-
In ArcGIS Pro: Enable Compress Vector Graphics and set image compression to Adaptive or JPEG with 80% quality.
-
In QGIS: Enable Simplify geometries to reduce output file size and choose JPEG compression for raster layers.
-
Summary
Frequently Asked Questions
What is the main difference between ArcGIS Pro Map Series and QGIS Atlas?
When **Automating PDF Map Books and Atlases in ArcGIS Pro and QGIS**, ArcGIS Pro relies on its built-in Spatial Map Series engine linked to layout elements, whereas QGIS Atlas leverages data-defined overrides and QGIS expression strings to drive panel creation.
Can I rotate map frames automatically for linear corridor mapping?
Yes. When **Automating PDF Map Books and Atlases in ArcGIS Pro and QGIS**, both platforms support rotation fields. You can link a bearing or angle attribute directly to the map frame properties in ArcGIS Pro or use data-defined expression rotation in QGIS.
How do I export all map sheets into a single continuous file?
During the final export stage of **Automating PDF Map Books and Atlases in ArcGIS Pro and QGIS**, simply select the export option for *Export as a single PDF file* in ArcGIS Pro or check *Export as a single document if possible* in the QGIS Atlas PDF export dialog.