
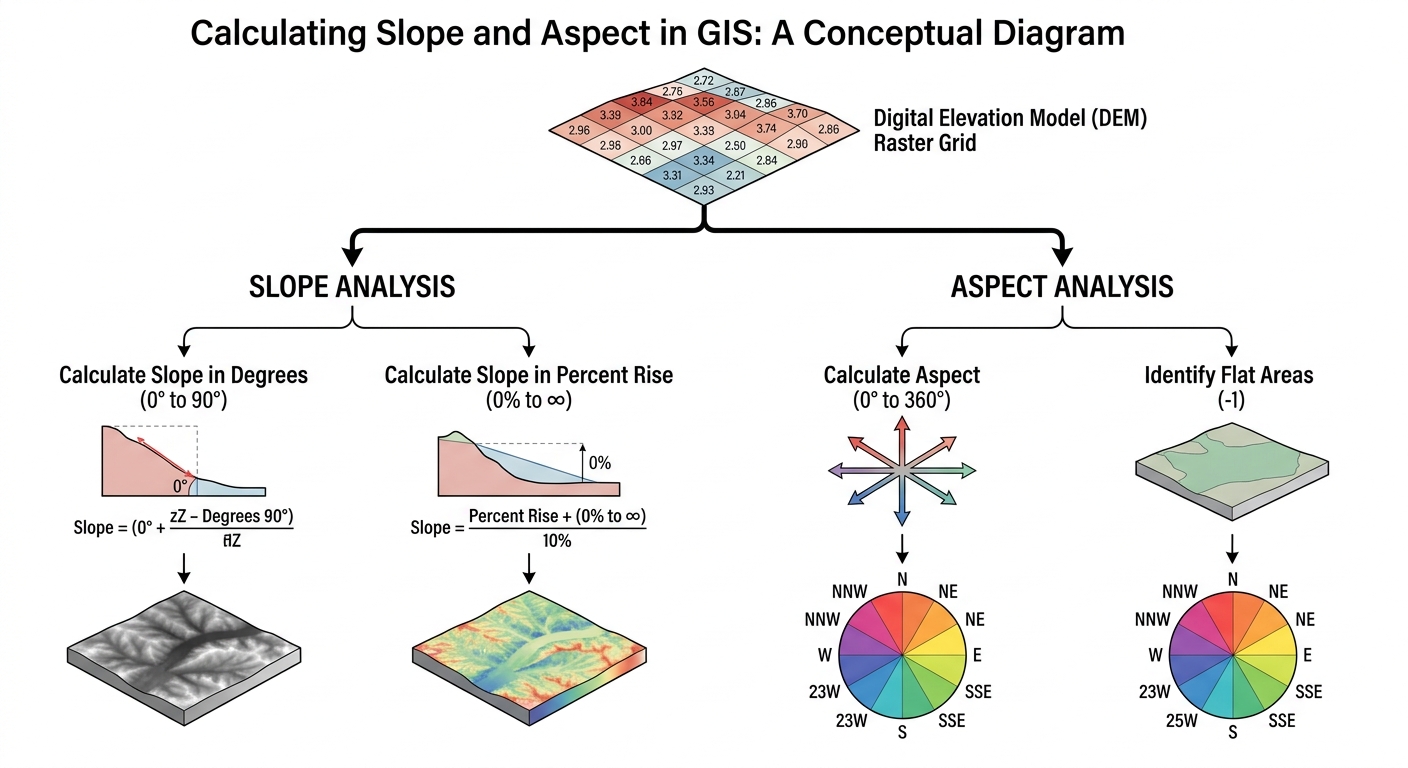
Calculate Slope and Aspect in GIS: 5 Steps for DEM Analysis
When tasked with spatial modeling or environmental analysis in university GIS labs, learning how to calculate slope and aspect GIS workflows correctly is essential. Digital Elevation Models (DEMs) store raw elevation data, but deriving terrain steepness (slope) and surface direction (aspect) reveals critical geographical insights. Whether you are conducting a site suitability analysis for a civil engineering project, modeling wildfire risk, or delineating watershed hydrology, master these spatial analyst tools to complete your assignment accurately.
Deriving slope and aspect from elevation rasters can feel overwhelming when faced with choices between degrees and percent rise, coordinate system projections, and Z-factor settings. This comprehensive tutorial walks you through the core theoretical concepts, followed by step-by-step execution in both QGIS and ArcGIS Pro.
When university assignments require students to calculate slope and aspect GIS layers, understanding the underlying raster math is essential. When your coursework requires you to calculate slope and aspect GIS datasets, following a structured workflow helps.
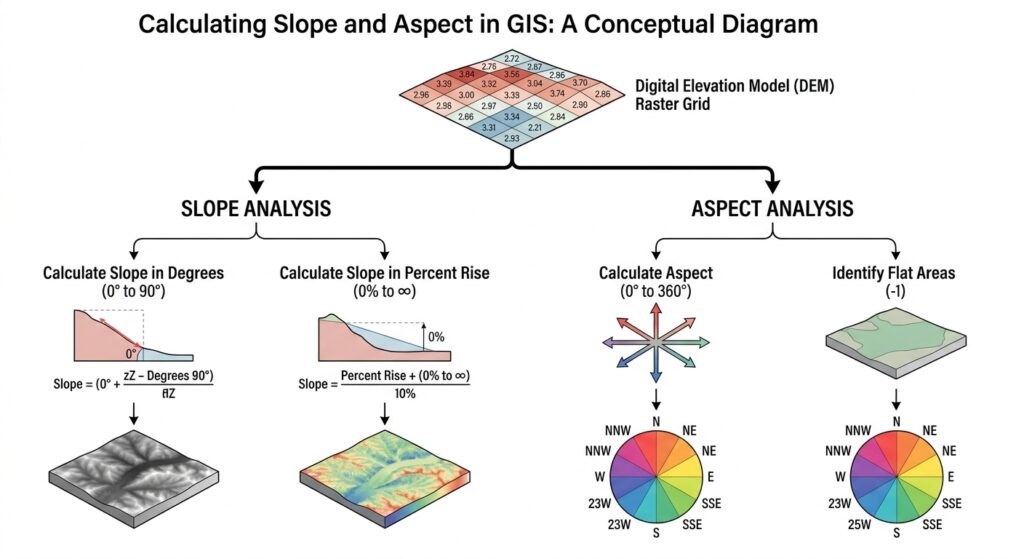
1. Fundamentals: Slope vs. Aspect in Terrain Analysis
Before opening your desktop GIS application, it is important to understand what happens mathematically when you process a DEM raster grid.
+-----------------------------------------------------------------------+
|                       ELEVATION RASTER (DEM)                          |
|                  Grid of cells with Z-values (height)                  |
+-----------------------------------+-----------------------------------+
                                    |
            +-----------------------+-----------------------+
            |                                               |
            v                                               v
  +-------------------+                           +-------------------+
  |    SLOPE TOOL     |                           |    ASPECT TOOL    |
  |  Rate of change   |                           | Compass Direction |
  +---------+---------+                           +---------+---------+
            |                                               |
      +-----+-----+                                   +-----+-----+
      |           |                                   |           |
      v           v                                   v           v
  [Degrees]   [Percent]                           [0°-360°]    [-1 Flat]
  0°-90°      0%- infinity                        N, E, S, W   No direction
What is Slope?
Slope measures the rate of maximum change in elevation from a target cell to its neighboring cells. It represents the steepness or incline of the terrain surface.
GIS software typically allows you to calculate slope in two primary units:
-
Degree Slope: The angle of inclination measured from horizontal, ranging from 0° (completely flat) to 90° (vertical cliff).
-
Percent Slope (Percent Rise): The ratio of vertical rise over horizontal run, calculated as
(Rise / Run) * 100. A 45-degree angle corresponds to a 100% slope. As the angle approaches vertical, percent slope approaches infinity.
For hydrology and landslide hazard mapping, degree slope is generally preferred. For road design, civil engineering, and agricultural planning, percent rise is standard.
What is Aspect?
Aspect identifies the downhill slope direction of the maximum rate of change in value from each cell to its neighbors. Think of aspect as the compass direction that a slope faces.
Aspect output values are measured in continuous azimuth degrees from 0° to 360°, measured clockwise from North:
| Azimuth Range | Facing Direction |
| 337.5° – 360° & 0° – 22.5° | North |
| 22.5° – 67.5° | Northeast |
| 67.5° – 112.5° | East |
| 112.5° – 157.5° | Southeast |
| 157.5° – 202.5° | South |
| 202.5° – 247.5° | Southwest |
| 247.5° – 292.5° | West |
| 292.5° – 337.5° | Northwest |
| -1 | Flat (No direction) |
Aspect is widely used in environmental modeling. For example, south-facing slopes in the Northern Hemisphere receive more solar radiation, affecting vegetation distribution, snowmelt rates, and soil moisture levels.
2. Step-by-Step Guide to Calculate Slope and Aspect GIS Workflows in QGIS
QGIS is a powerful, open-source GIS software used extensively across universities worldwide. You can acquire free DEM datasets from resources like USGS EarthExplorer or regional geospatial data portals.
Step 1: Prepare and Load Your DEM Raster
Before you calculate slope and aspect GIS layers in QGIS, verify your coordinate system.
-
Launch QGIS and start a new project.
-
Drag and drop your DEM
.tiffile into the Layers Panel, or navigate to Layer > Add Layer > Add Raster Layer. -
Verify your DEM’s Coordinate Reference System (CRS) by right-clicking the layer and selecting Properties > Information. Ensure it uses a projected coordinate system (e.g., UTM) with linear distance units such as meters.
Step 2: Calculate Slope in QGIS
This tool allows you to calculate slope and aspect GIS raster outputs seamlessly.
-
Navigate to the top menu and click Raster > Analysis > Slope.
-
Set the Input layer to your loaded DEM raster.
-
Choose your measurement unit:
-
Leave Express slope as percent instead of degrees unchecked for degrees.
-
Check the box if your lab assignment specifically requests percent rise.
-
-
Set the Z factor (keep as
1.0if both horizontal X/Y coordinates and vertical Z values are in meters). -
Click Run. QGIS generates a grayscale raster layer highlighting terrain steepness.
Step 3: Calculate Aspect in QGIS
-
Navigate to Raster > Analysis > Aspect.
-
Select your DEM layer as the Input layer.
-
Leave additional settings default unless special handling for flat surfaces is required.
-
Click Run. The output raster displays continuous compass values ranging from 0° to 360°.
Step 4: Apply Symbology for Visual Interpretation
-
Right-click the newly created Aspect layer and select Properties > Symbology.
-
Change the Render type to Singleband pseudocolor.
-
Select a color ramp (such as a spectral or continuous rainbow ramp) to distinguish North, East, South, and West slopes clearly.
-
To refine your land classification analysis further, refer to our guide on
[Internal Link Context: Suggest linking to related article on Raster Reclassification GIS].
3. Step-by-Step Guide to Calculate Slope and Aspect GIS Workflows in ArcGIS Pro
ArcGIS Pro is the industry-standard software suite by Esri used across academia and government research.
Step 1: Load Elevation Data and Check Spatial Analyst License
When you open ArcGIS Pro to calculate slope and aspect GIS files, ensure your Spatial Analyst extension is active.
-
Open ArcGIS Pro and create a new Map project.
-
Add your DEM file via Map > Add Data.
-
Go to Project > Licensing > Esri Extensions to verify that the Spatial Analyst license extension is enabled.
Step 2: Calculate Slope in ArcGIS Pro
Professionals use these tools to calculate slope and aspect GIS features for environmental modeling.
-
Open the Geoprocessing Pane (Analysis > Tools).
-
Search for the Slope tool (found under Spatial Analyst Tools > Surface > Slope).
-
Set Input raster to your DEM.
-
Choose your Output raster designation path.
-
Set Output measurement to Degree or Percent rise.
-
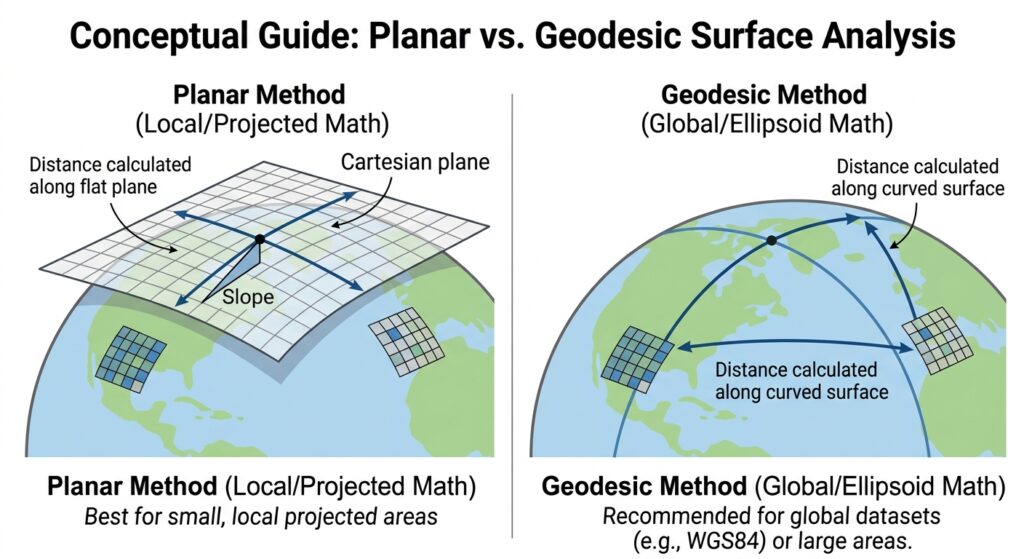
Set the Method:
-
Planar: Best suited for local area projections.
-
Geodesic: Recommended for global datasets or unprojected geographic coordinate systems (WGS84).
-
-
Click Run.
Step 3: Calculate Aspect in ArcGIS Pro
-
In the Geoprocessing Pane, search for the Aspect tool (Spatial Analyst Tools > Surface > Aspect).
-
Set Input raster to your DEM layer.
-
Select the preferred Method (Planar or Geodesic). For detailed technical specifications on surface math, check the Esri Surface Toolset Documentation.
-
Click Run. ArcGIS Pro automatically applies a default multi-colored aspect legend representing 8 cardinal directions plus flat areas.
Pro Tip: Fixing Z-Factor and Unit Mismatches
One of the most common mistakes in student lab reports is an incorrect Z-factor setting, leading to extreme slope calculations (e.g., vertical cliffs showing up on flat terrain).
The Z-factor is a scaling conversion multiplier used to adjust elevation (Z) units when they differ from horizontal ground surface (X, Y) coordinates. Correct Z-factor settings are crucial whenever you calculate slope and aspect GIS metrics.
Matching Units (Meters to Meters / Feet to Feet):
Z-Factor = 1.0X/Y in Meters, Z in Feet:
Z-Factor = 0.3048(converts vertical feet to meters)X/Y in Feet, Z in Meters:
Z-Factor = 3.2808Unprojected Geographic Coordinates (X/Y in Decimal Degrees, Z in Meters): Use the Geodesic method in modern GIS tools, or project your DEM into a UTM (Universal Transverse Mercator) projection first!
4. Frequently Asked Questions (FAQ)
What is Z-factor and why does it affect slope calculations?
The Z-factor adjusts vertical elevation units when they do not match horizontal X/Y coordinate units. If X and Y are measured in meters while Z is in feet, an unadjusted default Z-factor of 1 causes severe overestimation of slope steepness.
What is the difference between percent slope and degree slope?
Degree slope measures terrain angle relative to a flat plane (0° to 90°). Percent slope calculates the vertical rise divided by horizontal run multiplied by 100. A 45° slope equals a 100% slope.
How do I interpret flat areas in aspect calculations?
Flat areas have no definable downhill slope direction. In GIS software, cells with a calculated slope of zero are assigned an aspect value of -1 (or non-directional grey shading) to separate them from true North slopes (0°).
5. Conclusion & Summary
Calculating slope and aspect from Digital Elevation Models is a foundational skill in spatial analysis and GIS coursework. By understanding the difference between percent and degree measurements, preparing your raster datasets, and applying proper Z-factor adjustments, you can produce accurate map outputs for any lab assignment. Whether you use QGIS or ArcGIS Pro, knowing how to calculate slope and aspect GIS datasets correctly ensures precise spatial modeling. Whether you are working in QGIS or ArcGIS Pro, knowing how to calculate slope and aspect GIS datasets correctly ensures precise spatial modeling and successful completion of your academic projects. To successfully complete your university lab tasks and master spatial modeling, knowing how to calculate slope and aspect GIS workflows is essential for every student.
Key Takeaways:
-
Slope calculates terrain steepness (degrees vs. percent rise).
-
Aspect determines slope compass orientation (0° to 360° clockwise from North).
-
Always reproject your DEM to a local projected coordinate system (such as UTM) before performing surface analysis.
-
Keep the Z-factor formula in mind whenever handling mixed units.